Day 19
All right. Yesterday was learning to sculpt with clay. Today I’ve got the hang of that, so all I need to do is whip off another boot and get to pouring the mold.
All the practice boot sculpting must be helping because I get through this one remarkably fast:
Lumpy shape

Less lumpy shape

Awesome, detailed boot
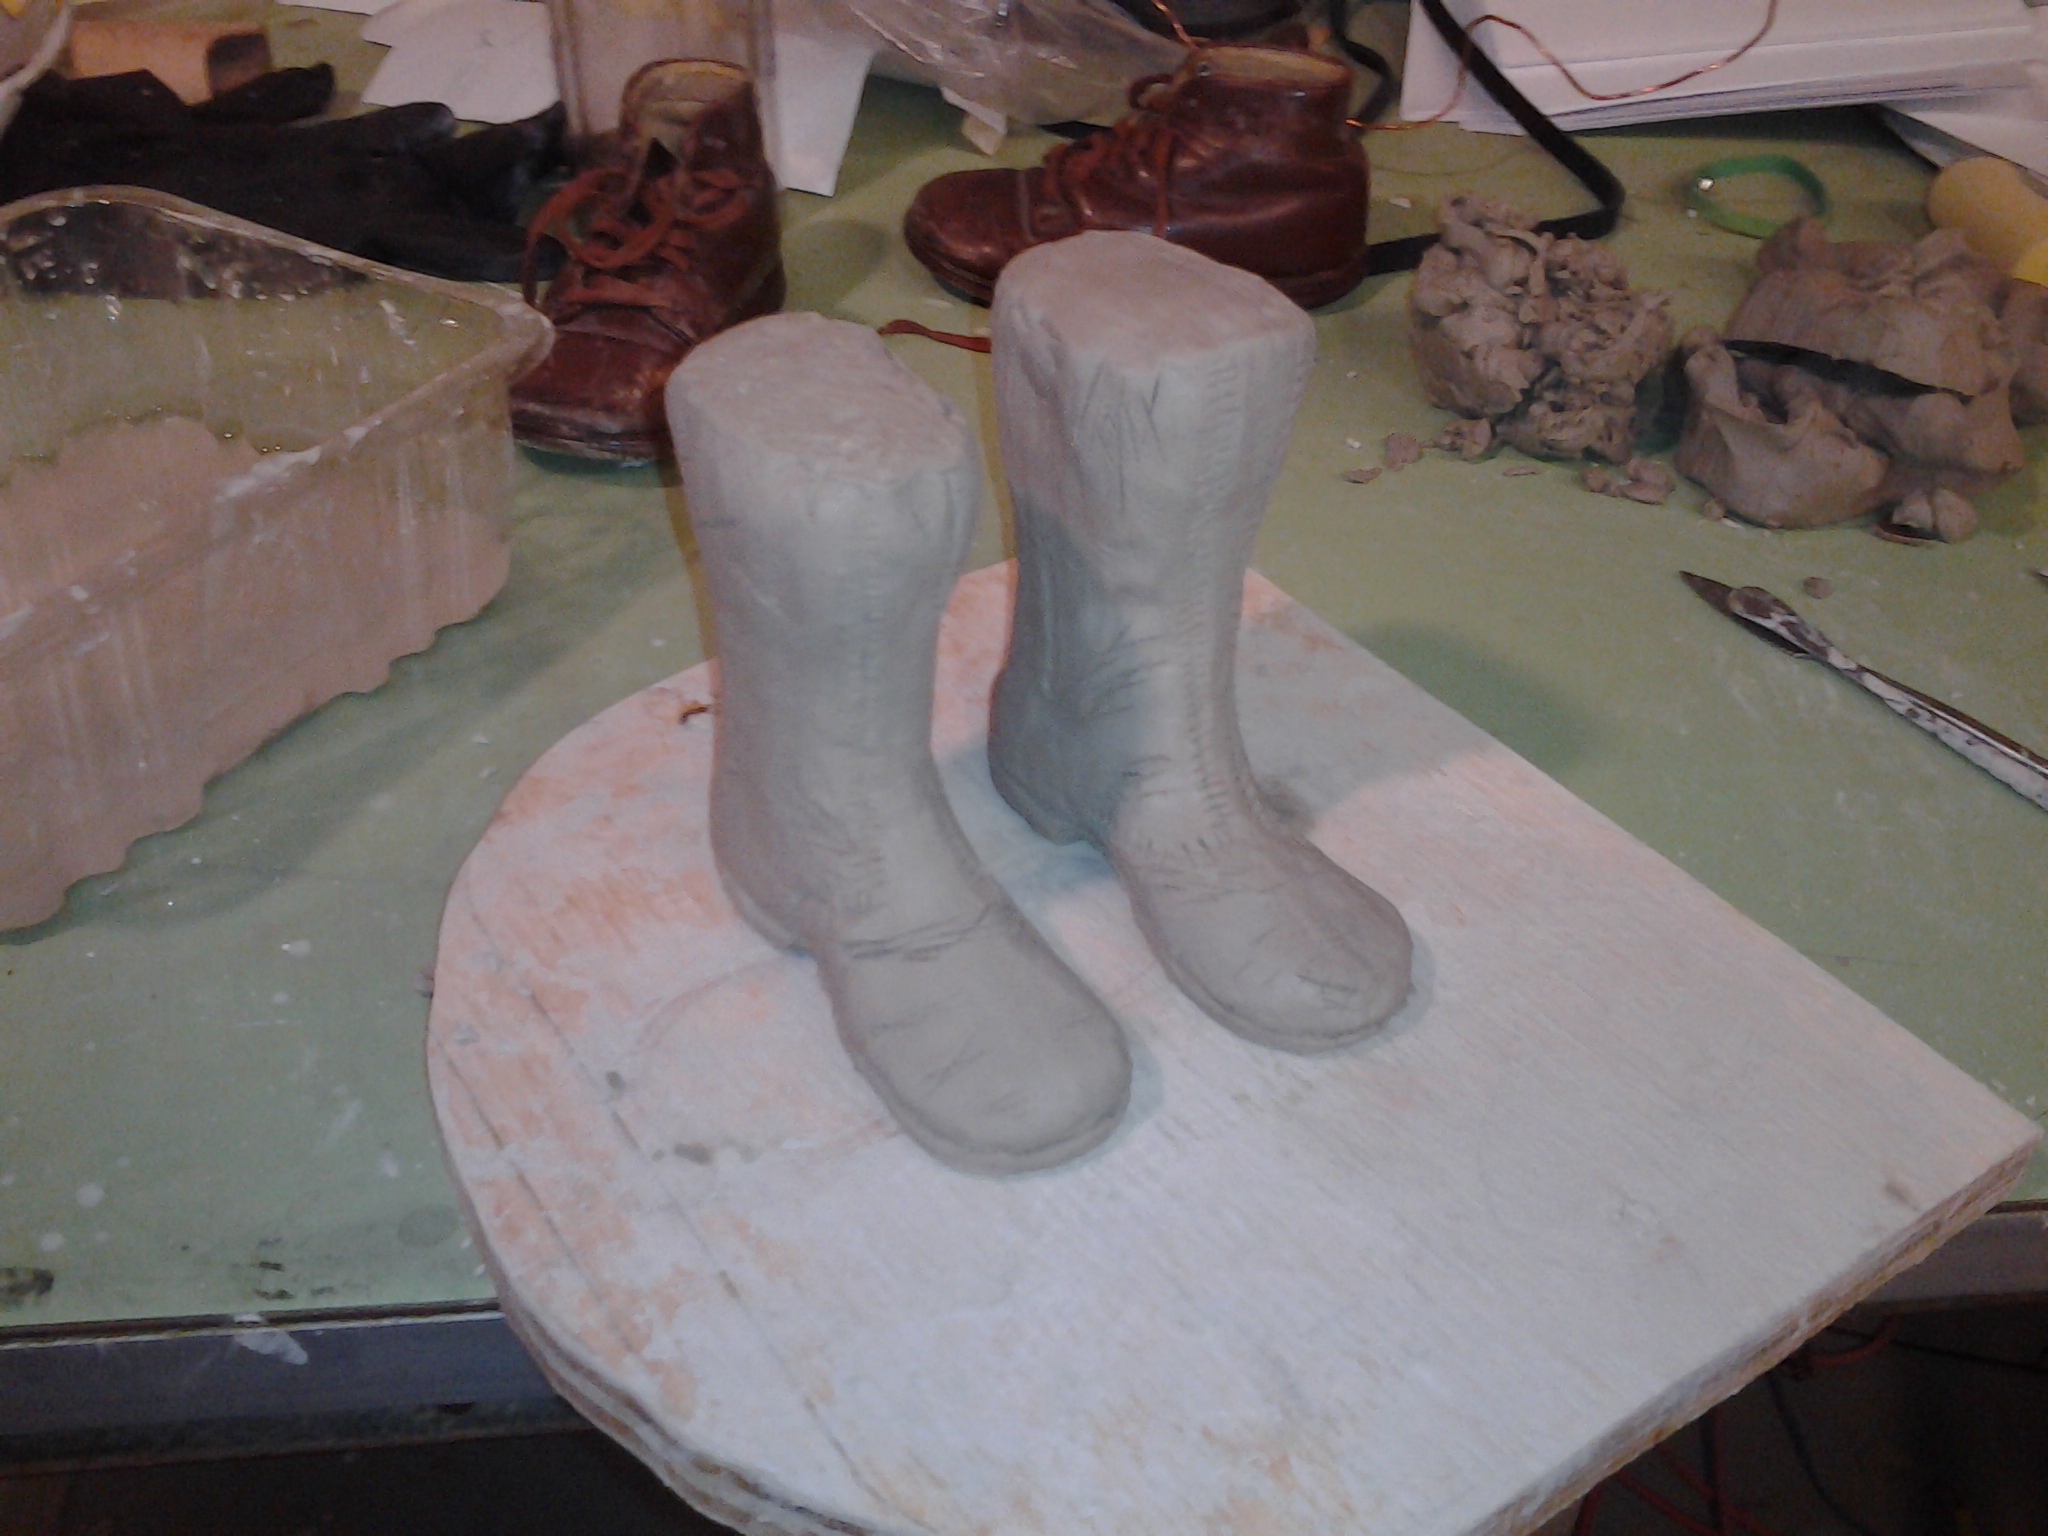
Mostly awesome. Judd and Peter had a few suggestions – mostly I need to remember that the boot is an object and that the aging is supposed to indicate its specific lifespan and not just be lines scratched into the surface. When sculpting, I need to remember dimensionality. So back I go.
All right. Finally, I have a pair of boots that everyone is happy with (myself included), so it’s time to make the mold. Hopefully I get this part right, because Shawna promised to test me on it tomorrow. Gulp.

Make your seam. This can be done with either clay, or a wall of metal like this. Basically, this keeps the mold two-part. You can go deep, but not so deep as to cut your sculpture in half (like I did. Oops. We stuck it back together and made it work.)


Build a little clay wall around your sculpture. You don’t have to do this, but it helps keep the plaster where you want it.
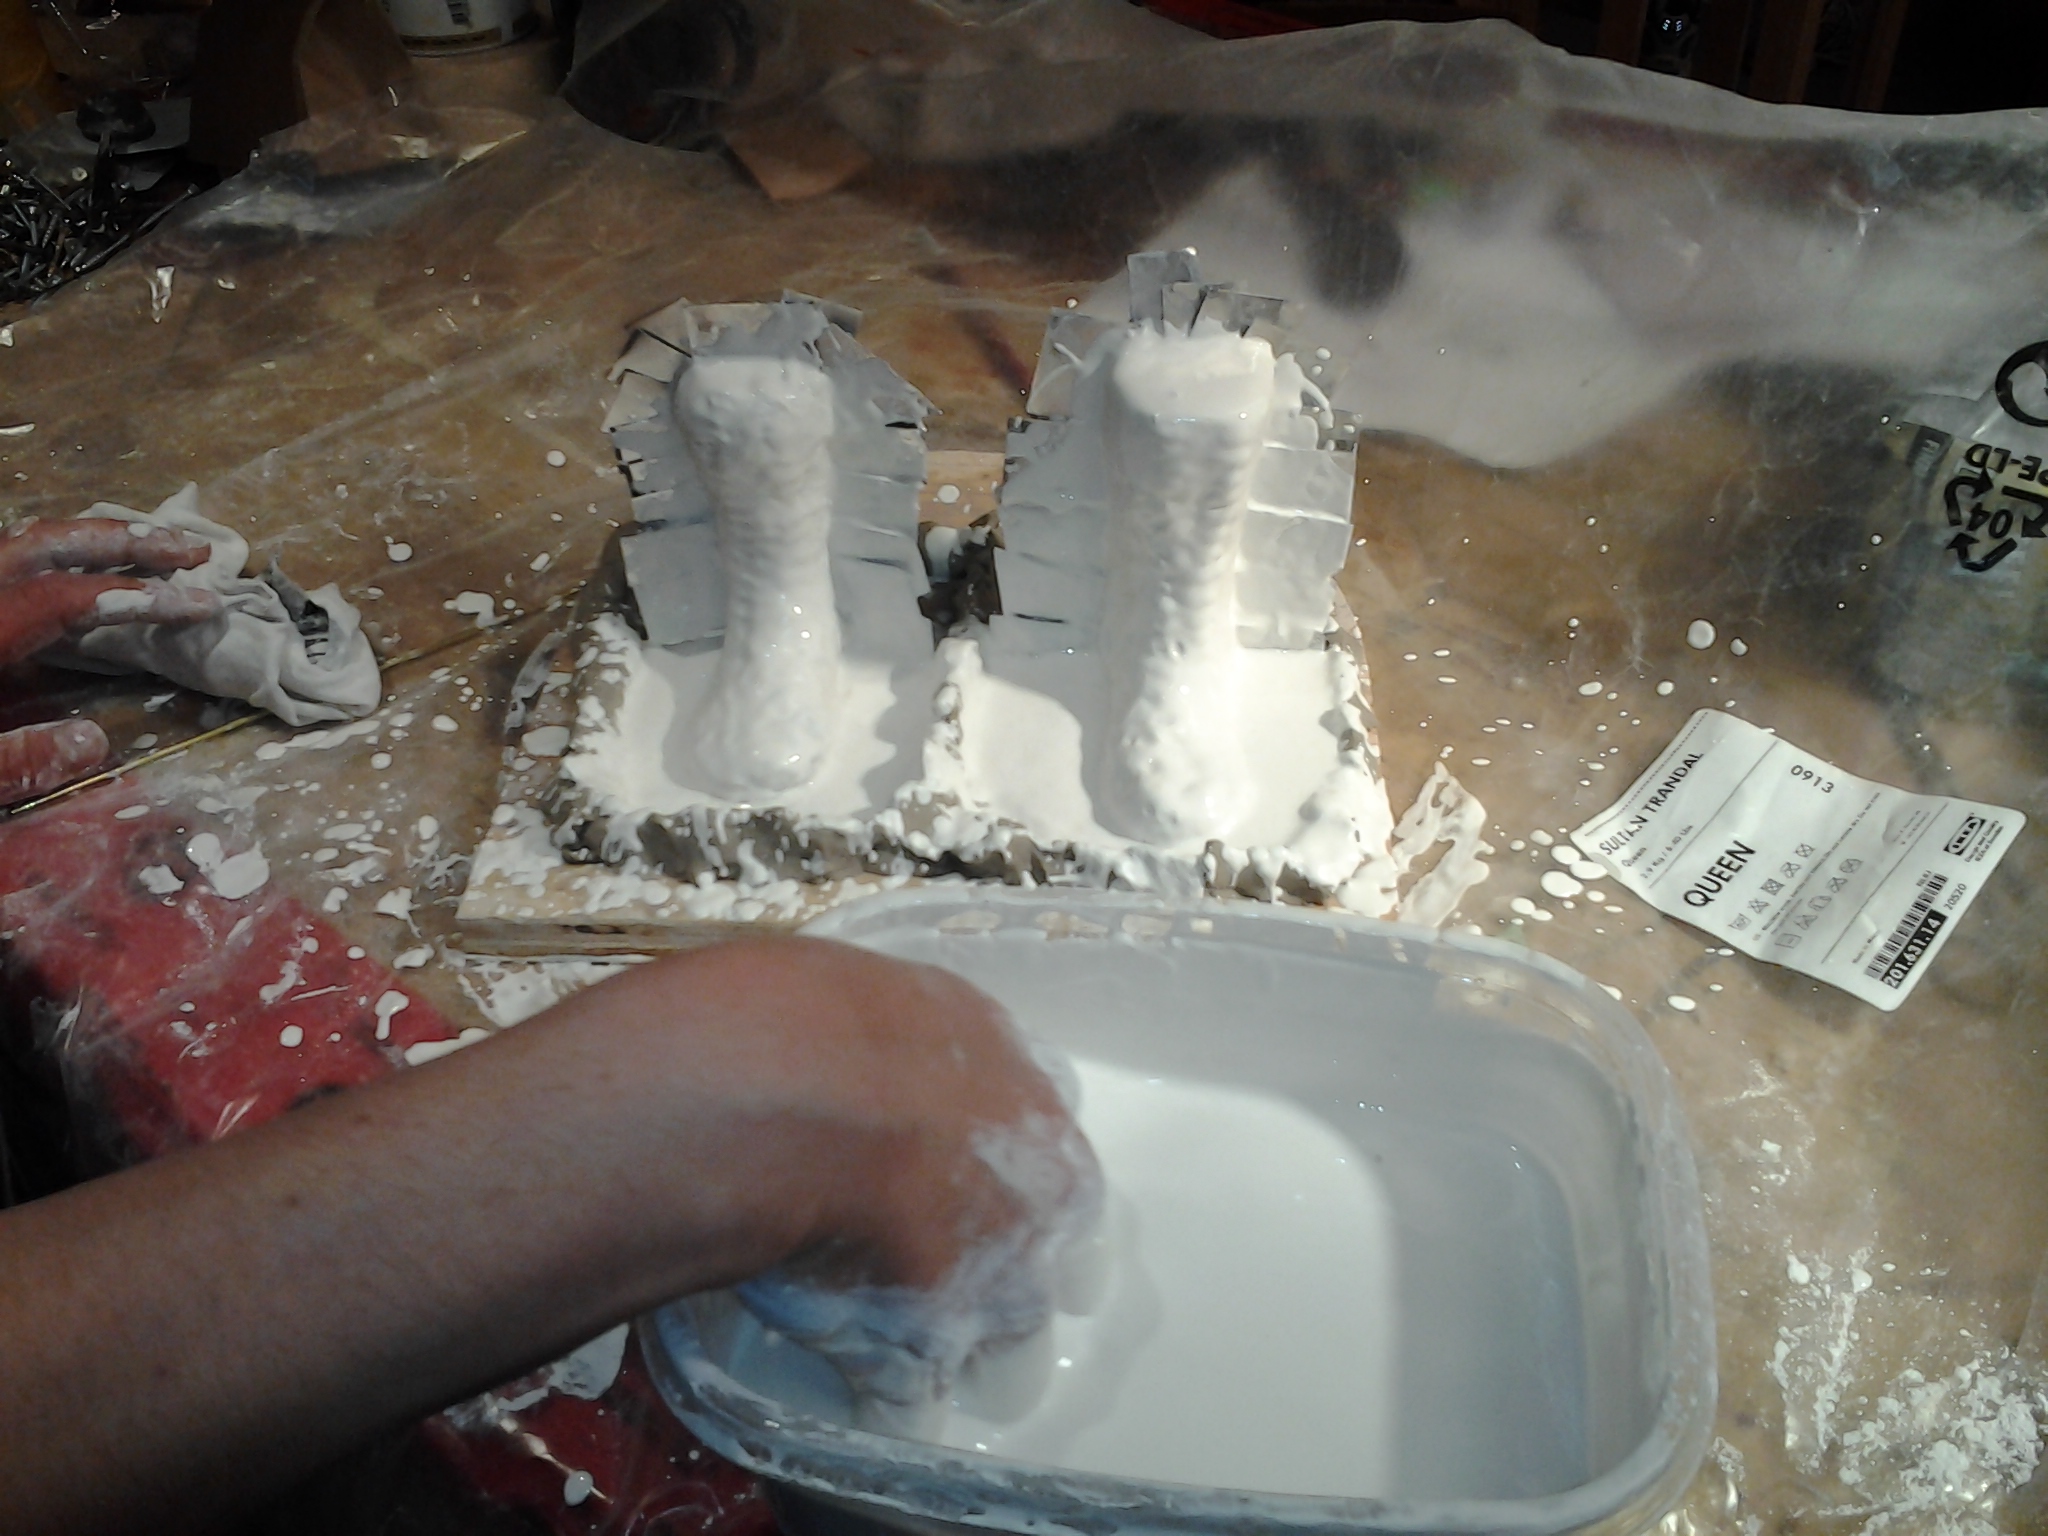
Mix the plaster. 1/3 container of water (luke-warm or cold NEVER hot), sprinkle in the plaster until there’s a dry-ish layer at the top. Wait for the length of a song (or until it starts to crack a little) and mix thoroughly so that there aren’t any lumps. While its liquid you can do the splatter cover – a very thin layer that captures all the fine details.Make sure to get plaster into all the nooks and crannies by blowing on it.

After a couple of minutes, the splatter layer should be starting to dry, enough so that you can make little mounds in it that the next layer will stick to.
Once the plaster in the container has reached a very thick batter consistancy you start piling it on. Got to work fast because you only have 3-5 minutes of working time at this point.
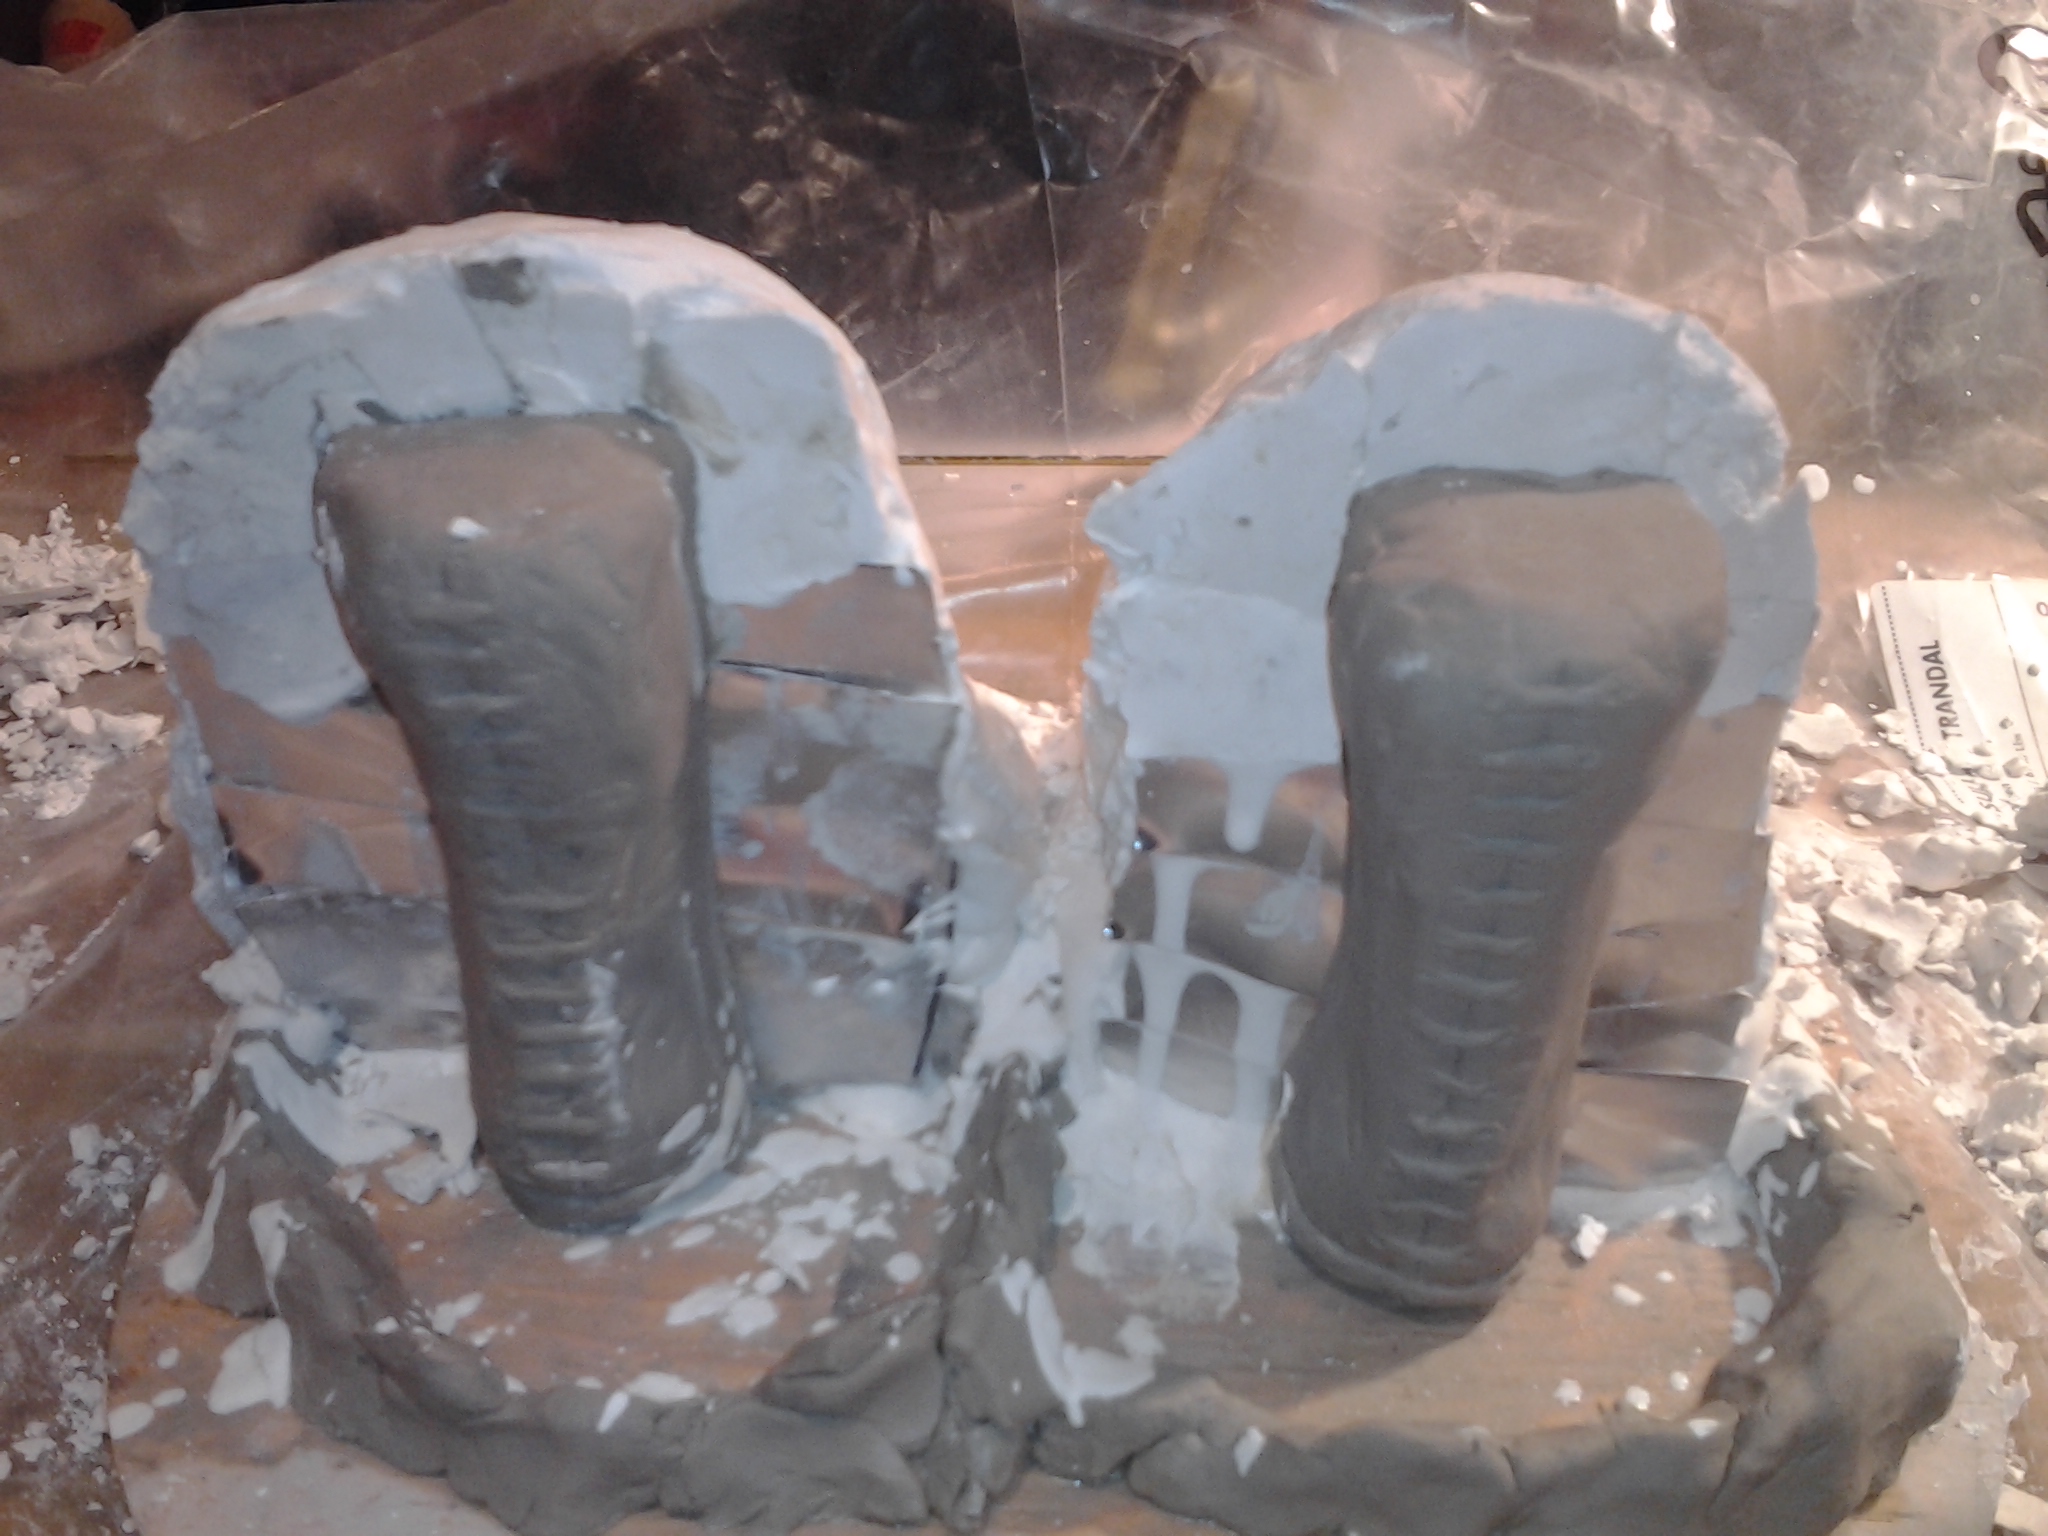
Once it has hardened, you can remover the little metal wall. Carefully.

Now we need to apply a release layer to the plaster. This makes sure our two-part mold will remain in 2 parts. We used a list coating of clay brushed on to the plaster wall, but apparently there are specialty products for just this purpose.
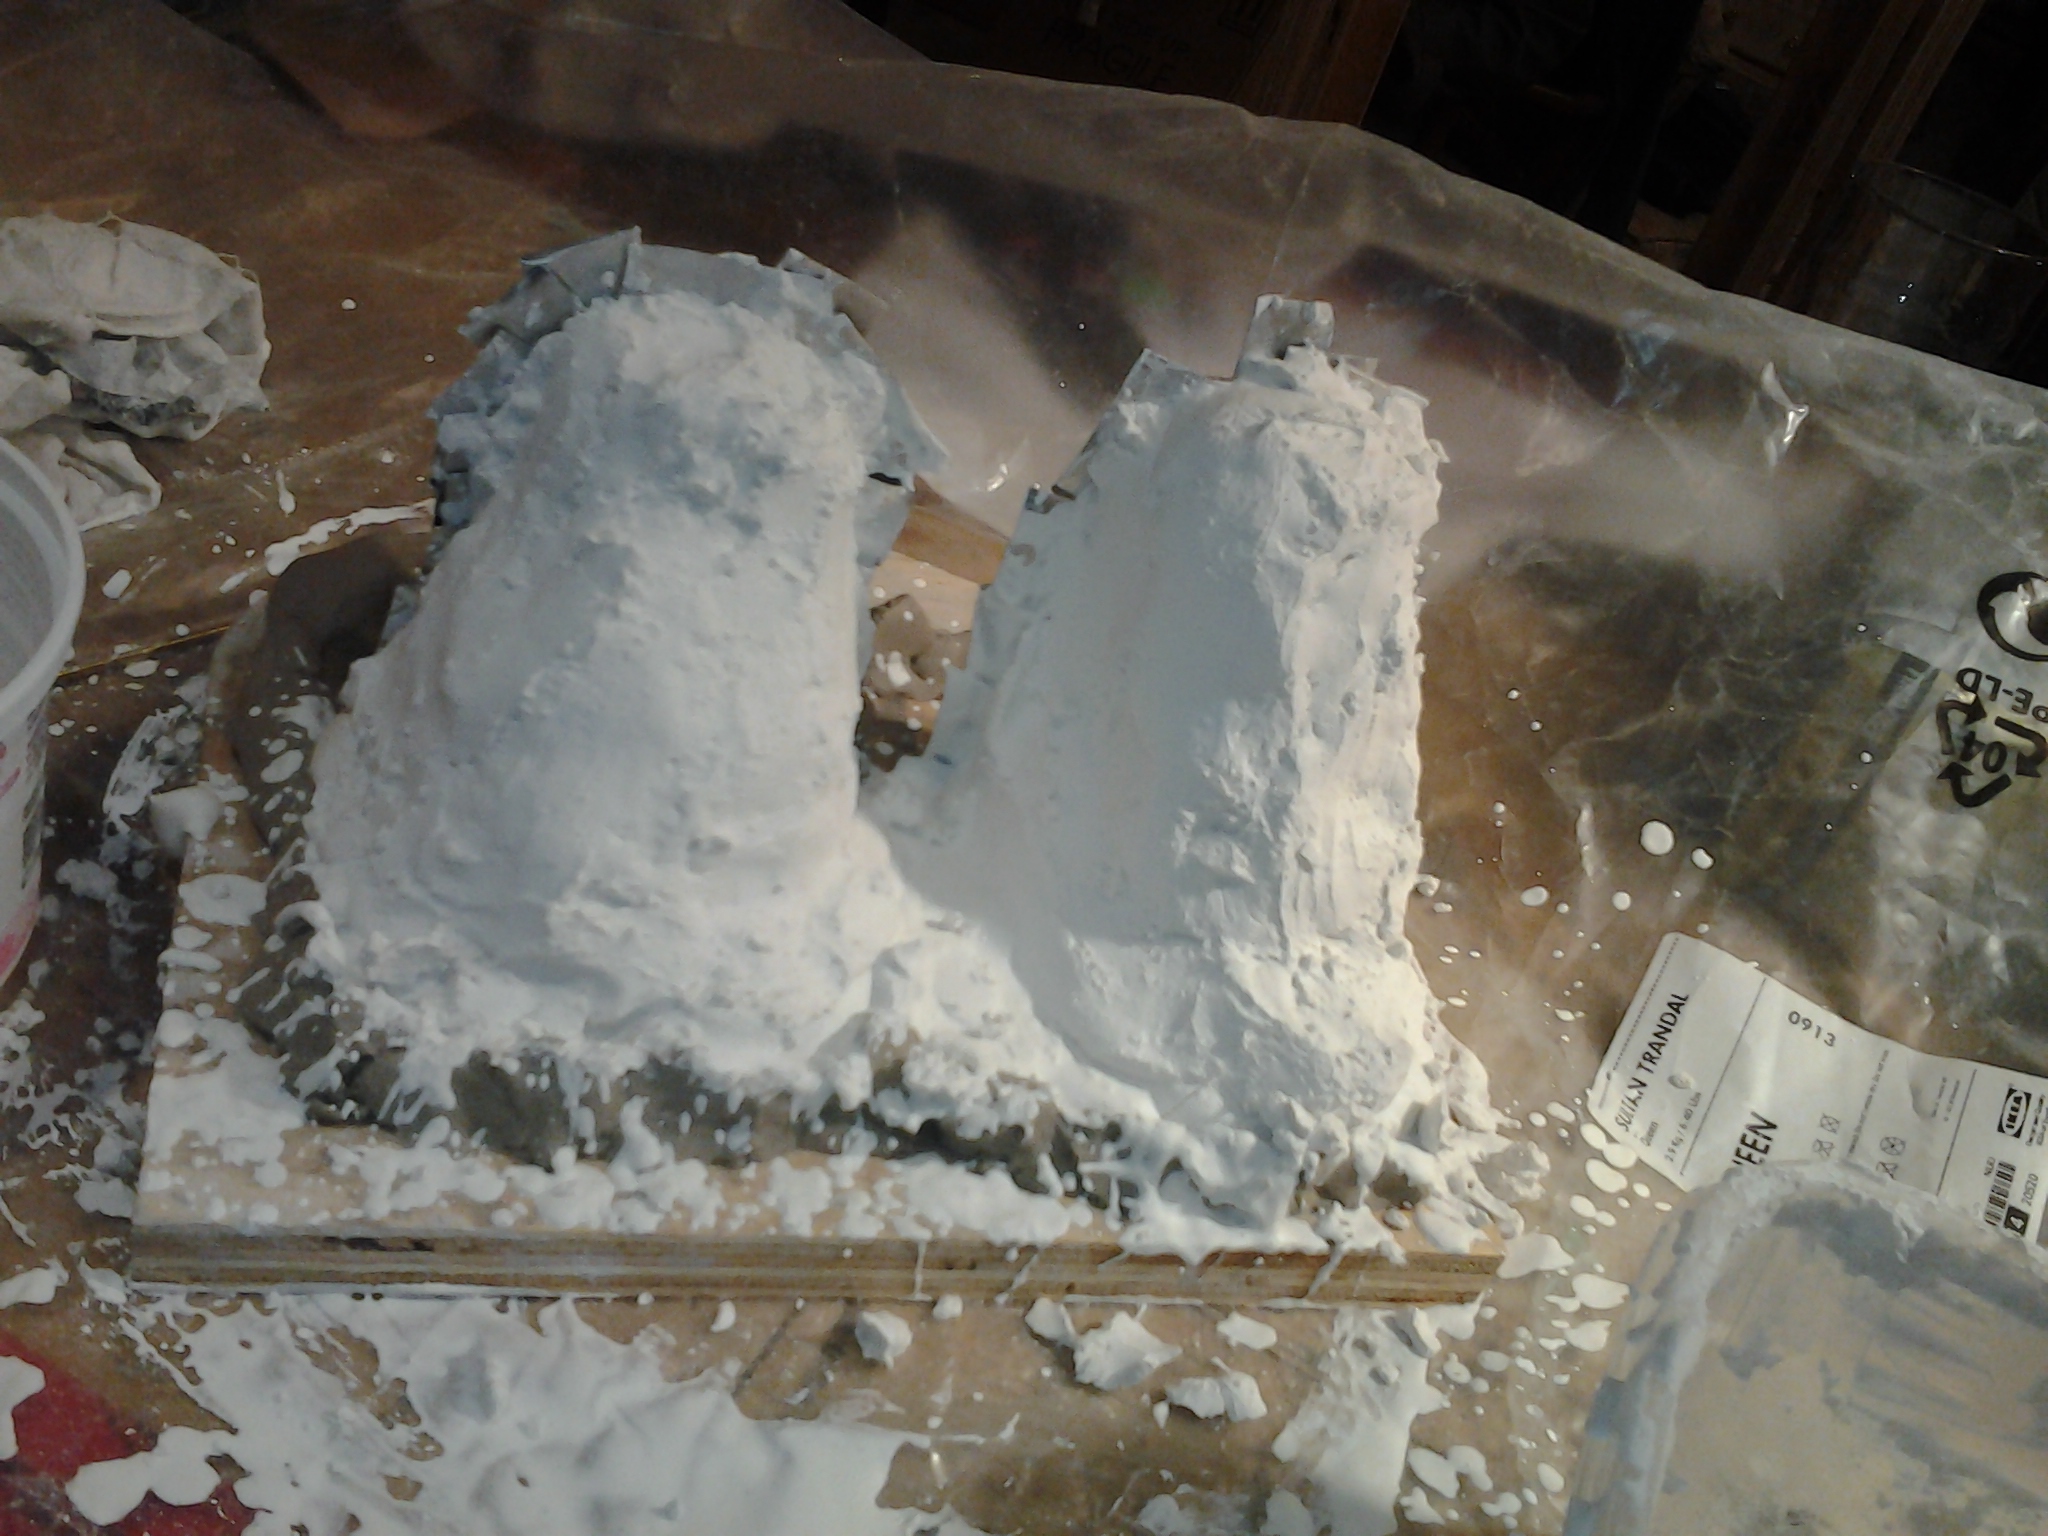
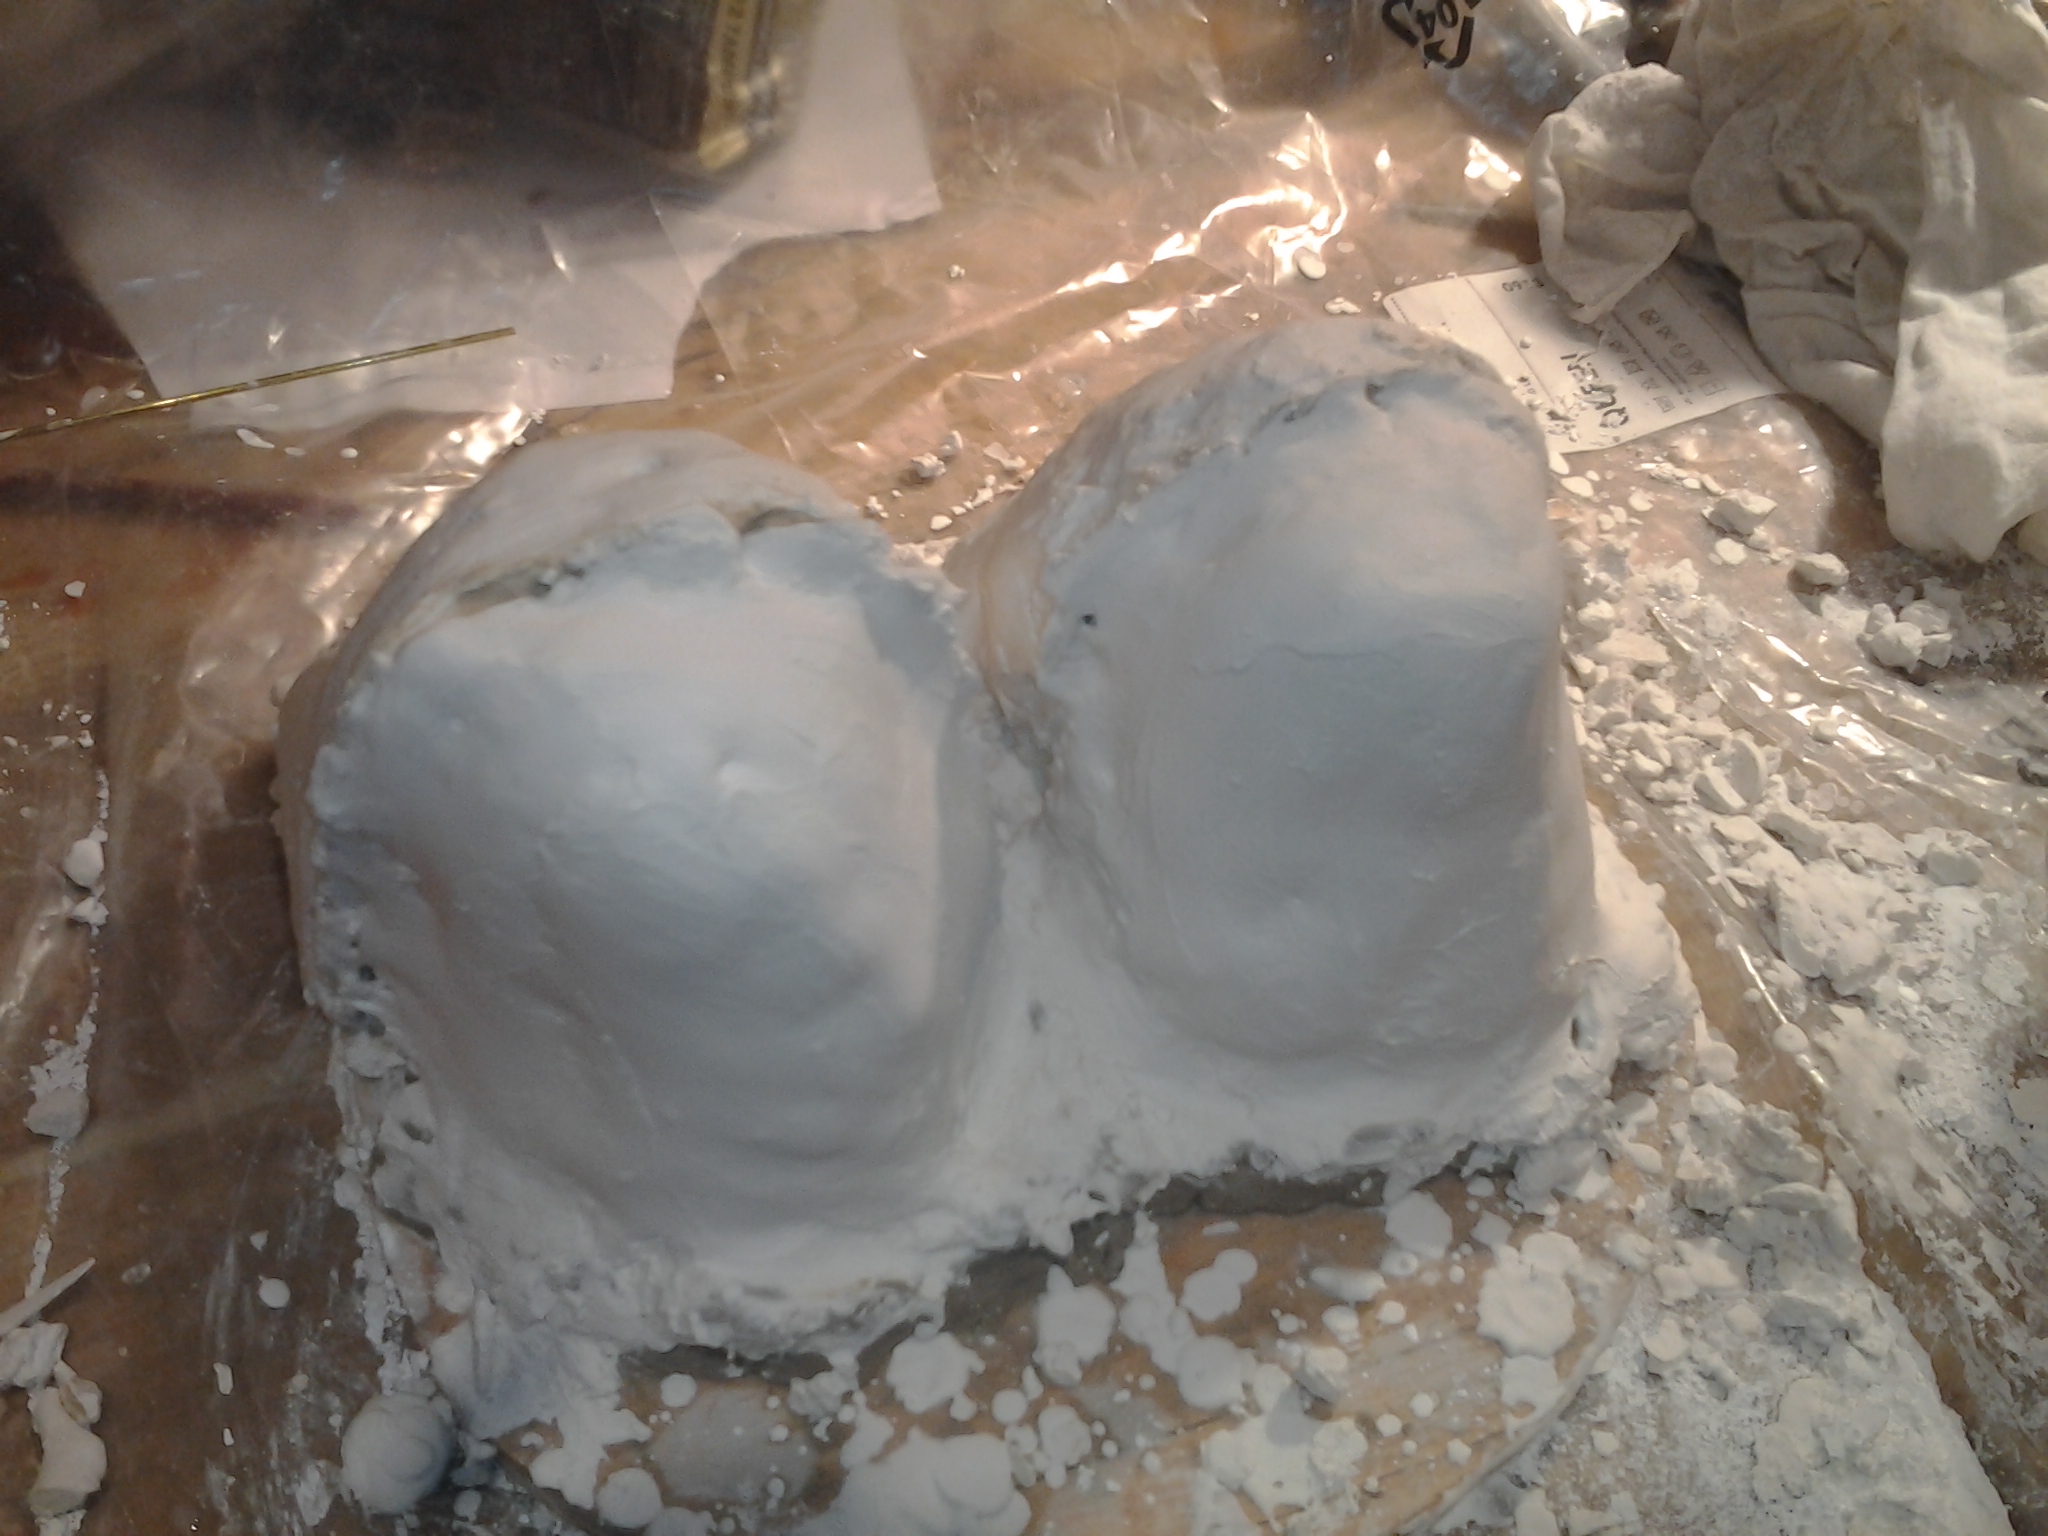 Repeat the process on the other half of the sculpture. Let it dry and voila! You get totally non-suggestive looking plaster molds.
After it dries a bit, you chisel of file down the seam so that it’s nice and even. I forgot to get a picture of this part. Tomorrow.
At this point it was getting late, and I would have to wait at least another 1/2 hour before the plaster was dry enough to pull apart and clean (which sounds like at least an hour’s work) so I decided to call it quits here and let it dry overnight.
Home! To call my beautiful and patient spouse, Helen.